Men of Company B is published by Peter Pig. It uses a grid with the table being divided into 60 squares. Our mat has crosses marked on the junctions which aren't to obvious to spoil the look. I took the South Vietnamese army. My mission was to search the villages, destroy caches of equipment and interrogate villagers for information. John took the Viet Cong, Kev refereed as he owned the rules and none of us had played them before.

Starting positions were random, we rolled again for a VC unit that appeared right in front of the enemy. The Started with two platoon leaders with a squad each. They were able to recruit from villages. Three more VC units would arrive later as well as two tanks and another platoon for the South Vietnamese army.

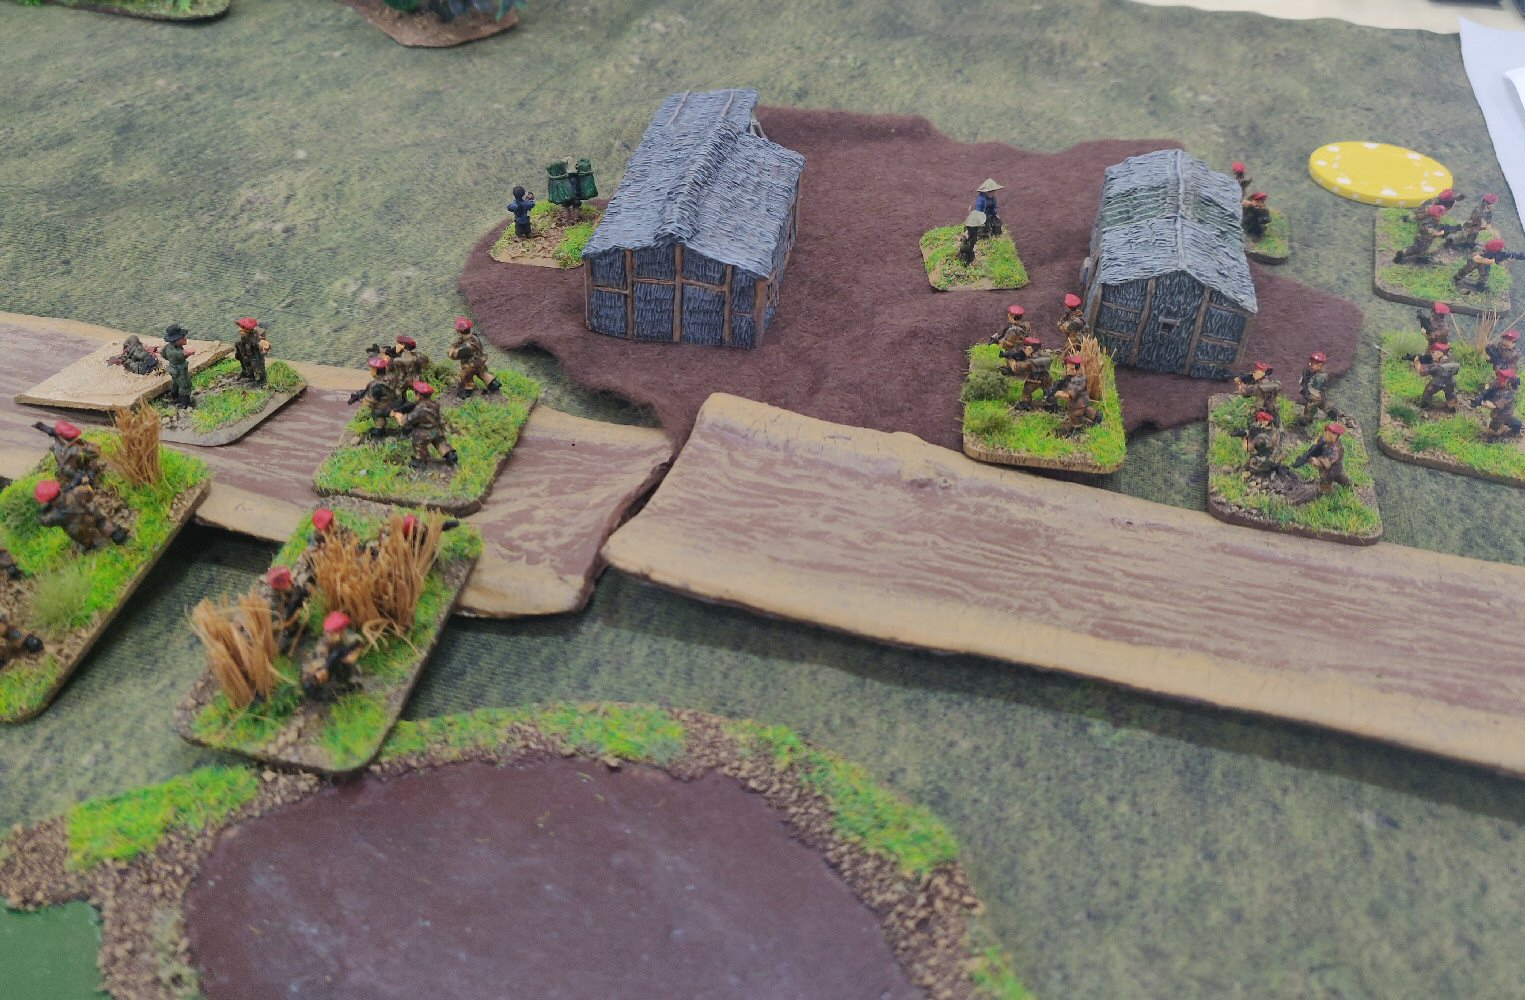
I made a good start moving a platoon off the road into the jungle where I could shoot at the enemy exposed in a paddy field, causing one casualty, my command group moved forward to see and called down artillery destroying the remaining stand. I moved the other platoon into a village to interrogate a villager, who died, giving a victory point to the enemy. And their search turned up an ambush that caused me a casualty.

John's remaining leader moved into a village and recruited the locals. I moved a platoon across the road into the jungle where they shot at each other without much effect. I moved back across the road so my HQ would be able to see the enemy when they followed.

A new VC unit appeared in another village and recruited a new platoon. My tanks arrived and fired on them from the road, killing another villager and giving away more victory points. My third platoon arrived and started searching and interrogating in the other square of the first village, they discovered a cache and killed another civilian.
I now planned to press my advantage and storm all three platoons across to attack the smaller enemy. However in the next two turns the remaining VC groups appeared at the other end of the table and recruited the villagers there.

My HQ moved to a position to call artillery on them, the stand it killed was replaced by a newly recruited one the following turn and another civilian was killed. My tanks moved to engage them as well. Kev had taken over by now and the VC in the centre moved forward. threatening to assault my tanks and I repositioned to face them. The VC killed most of my platoon in one round of firing.

The VC at the bottom of the table surged forward to assault my platoon which was destroyed, I expected them to move onto my HQ but the assaulted the tanks instead, unsucussfully.

In my turn I destroyed one VC squad, but triggered them to get opportunity fire that destroyed a tank and then failed my second action.

Meanwhile at the top of the table my advance had failed. The first platoon failed to call in medi-vac and were caught in the open when the VC made a long distance move, losing most of their troops. I pulled the back behind the village and managed to evacuate the casualties but my second unit failed to stop the enemy moving into the village with them.

The game has a count down with players choosing one to three increments each turn. As it was impossible now to get near any of the other villages, let alone search them I started choosing the maximum to try to run down the clock before I lost most of my force.

The VC player also reduced my victory points my removing their dead, reducing the bodycount. Counting the victory points gave the VC a solid win, most of the villages hadn't been searched and most of my attempts in the one village I occupied cost my victory points.


